

C41 - Process & Equipment
This is C41 development process that I followed whenever I wanted to develop my color photos at home. This process is more of an art form and less of some strict rules that I must follow. The beauty of film development is that depending on your approach it could get as close to painting as non other medium.
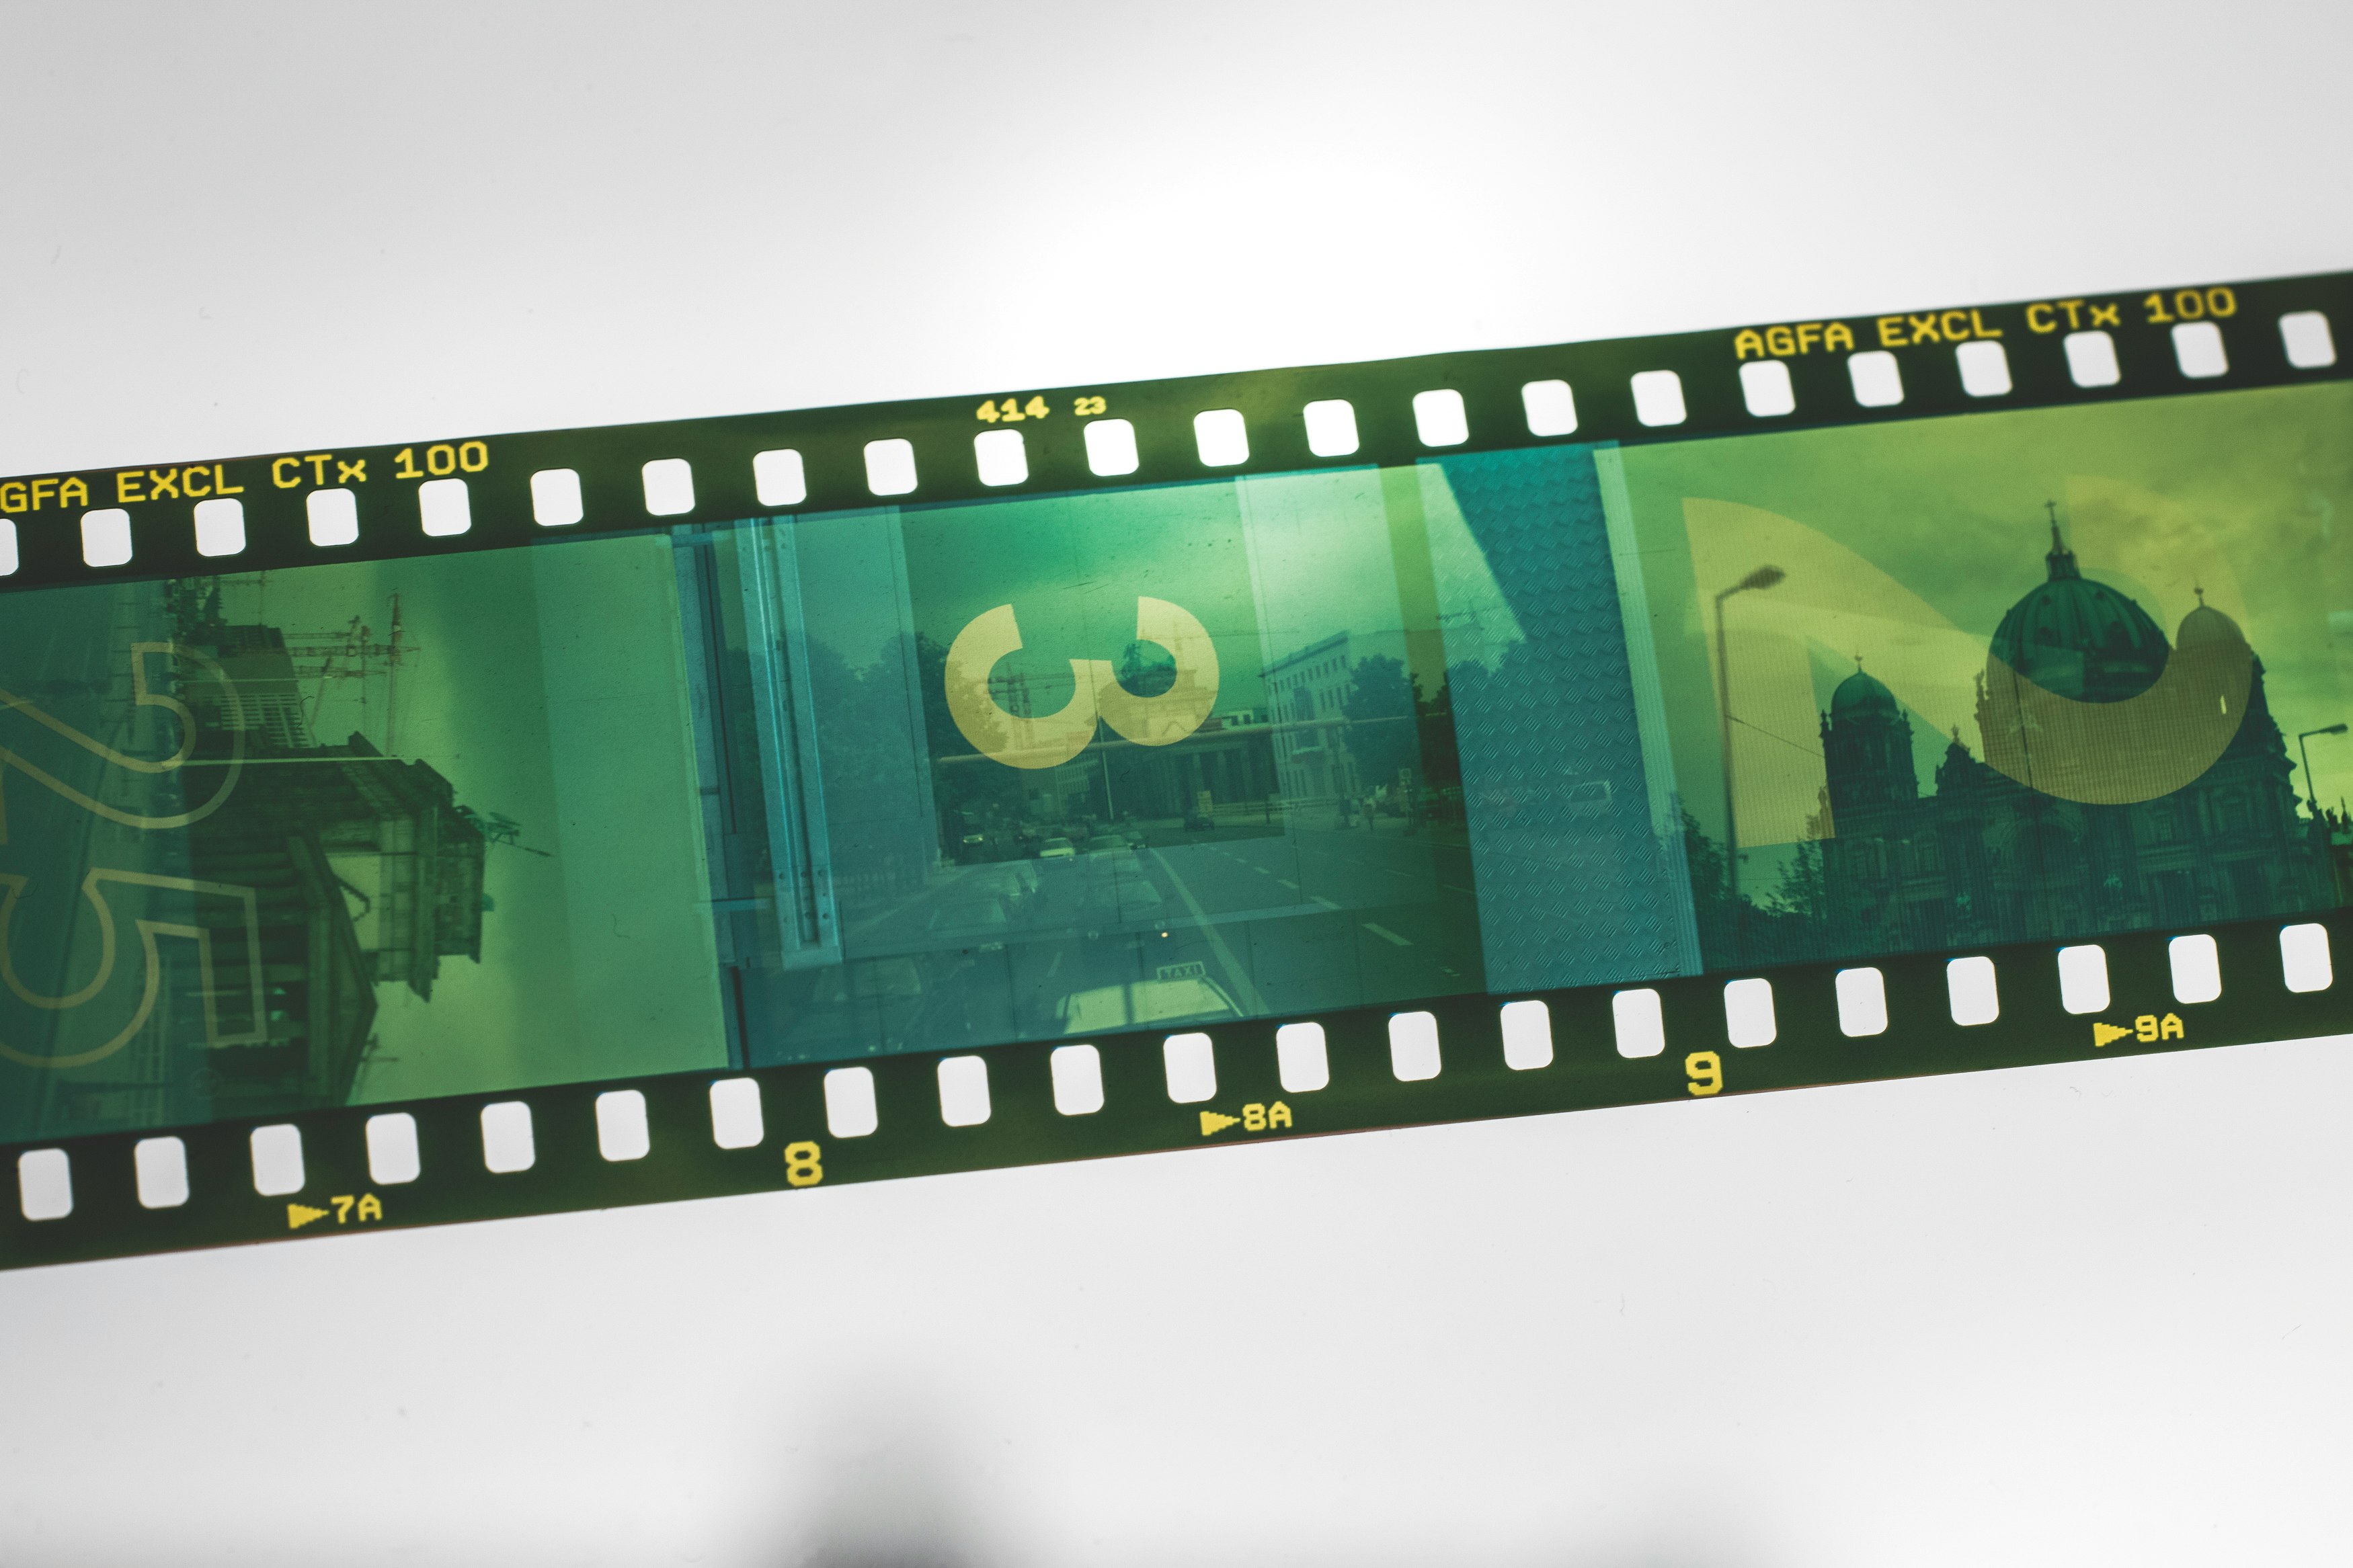
These are some example photographs that will help illustrate my point:


I hope these images illustrate that film development is an art that you must decide how you want your photographs to seen. on the other hand doing this deliberate changes are permanent so once done, you cannot go back. That is the reason most peeps develop within the specifications so that their photographs stand the test of time, if we can call it that.
Equipment
Unicolor C-41 Powder Developing Chemicals
- Liquid Measuring Cup
- Paterson Film Developing Tank
- Agitation Stick
- Auto Load Adjustable Reel
- Light-Tight Interior Lid
- Air-Tight Lid
- Thermometer
- Small Funnel
- 3x Amber Glass Bottle (~1000 mL)
- Film Squeegee
- Film Cassette Opener (Bottle Opener will work as well)
- Darkroom or Dark bathroom haha (Homemade darkrooms works, don’t worry!)
Optional
- Darkroom Bag
- Latex Gloves
- Protective Eyewear
- Lab Coat
- Bucket
Process
Mixing Chemicals
While mixing your chemicals you’ll need to have your darkroom thermometer, your amber glass bottles, the Unicolor C-41 Powder Kit, and a liquid measuring cup.
Starting with the developer, place 800 mL of water at 110°F | 43 °C into a clean glass (or plastic) container. While you’re stirring the hot water, add the Developer powder contents and stir for about a minute or until the solution is mixed through. After the solution is mixed, add 200 mL of water at 110°F | 43 °C to make it an even 1,000 mL. From here you can then transfer the chemicals into your amber glass bottle.
You will need these amber glass bottles for storing your chemicals because they are light sensitive and air tight. This is critical because you do not want any water or other fluids getting into your solution and you also will need to make sure that no light is able to be shining into the containers for a prolonged period of time so that you can retain quality
Next, grab another clean glass container and place 800 mL of water at 110°F | 43 °C into it. Begin stirring while you add in the packet marked Blix A. Once the packet is empty continue stirring and add in the packet marked Blix B. As you pour these powders into the water there will be an endothermic reaction so it is critical that you stir the solution while pouring it in. After the solution is thoroughly mixed through, add in 200 mL of water at 110°F | 43 °C and then transfer it into your amber bottle.
While transferring your chemicals into the amber bottles, it is important to make sure that they are marked ‘developer’, ‘D’, or whatever works for you, just as long as you know what solution is in each bottle.
Lastly, add 1,000 mL of water at room temperature into a clean glass container. From here you can add the pack of powder marked Stabilizer and stir thoroughly. Once you have transferred the chemicals into the amber bottle, let this sit at room temperature for your next use.
Developing Film
To begin your developing process, you need to ensure that everything is at the correct temperature before you start. Start by placing the Developer and Blix into a bucket of hot water and wait until they are at 102°F | 38 °C. Once they reach this temperature, you are about ready to go.
To make this easier for you to comprehend, I will list out the next steps with specific times and temperatures to help you get the best results:
- Pre-Soak (0-1:00) | Using your darkroom thermometer and your sink, set the water to 102°F. Once the water temperature is set, fill your tank with water and begin the timer once the tank is full. Do not leave the water running.
- Developer (1:30-5:00) | After your first minute of soaking in water is done, your next step is the developer. It will take you about 20-30 seconds to pour out the water and fill the tank with developer, but try your best to make sure the tank is full before 1:30. Once the tank is full, agitate the film using the agitation stick for 10 seconds (1:30-1:40). After this initial agitation, perform four inversion cycles every 30 seconds thereafter (2:10, 2:40, 3:10, etc…). Once you hit the five minute mark, begin to pour your Developer solution back into your amber bottle.
- Blix (6:00-12:30) | For me it takes about a minute to pour my chemicals back into the amber bottles, so I begin the timer for Blix at 6 or 6:15 usually. From there you will agitate the solution for the first ten seconds (6:00-6:10) and then you perform the four inversion cycles every thirty seconds thereafter again. Keep your eye on the blix and continue this cycle until 12:30 and then pour the chemicals back into the amber bottle marked Blix.
- Wash (13:00-16:00) | Using your darkroom thermometer, set the water temperature of your sink to anywhere from 95-105°F. Once the temperature is set, let the water run through the tank for 3 minutes.
- Stabilizer (17:30-18:20) | Now that you have washed your film, the last stage of the process is to use the stabilizer to make some final cleaning touches on the film. Once you have filled the tank with the stabilizer solution, agitate the film with the agitation stick for the first fifteen seconds and then let it sit for 30-45 seconds. Once you are ready, pour the solution back into the amber bottle.
- Dry (45 min.) | The final step after you take the film off of the reels is to use your film squeegee to dry the film off. This will remove any external liquids from your film to make sure that everything dries evenly and without any bubbles or spotting. After you squeegee the film, hang them on clips in a relatively cool area where there is minimal dust. One good spot with minimal dust is the bathroom, specifically if it a bathroom with a shower or bath tub. This is because the steam from the shower tends to remove the dust in the air, making it a much better place to let your film dry off rather than the office.
Now that you’ve hung your film up to dry out, you’re done developing your film at home! Once the film is dry, go ahead and cut it into strips and get ready to scan your images so you can see the results in digital form.
Concluding remarks
Overall, the process of developing film at home can be a challenging, yet rewarding experience. While it may take some time to get used to the process and find the right balance of chemicals and timing, the ability to create unique and personalized images can make it all worth it. Don't be afraid to experiment and try new approaches to see what works best for you and your photographic style.